Xerox
Download Printer Driver for Windows and Mac Devices
Download Printer Driver
Recommended For Most Users
2.0.1 | 2.0.1 | Stable Version
Latest Features
2.0.1 | 2.0.1 | Stable Version
For information about supported releases, Click Here.
![How to Connect Xerox Printer via Bluetooth? [Windows & Mac]](https://connectprinterviabluetooth.com/upload/blog/68553f6a15a70how-to-connect-xerox-printer-via-bluetooth-to-windowsmac.webp)
How to Connect Xerox Printer via Bluetooth? [Windows & Mac]
By Robert Baker
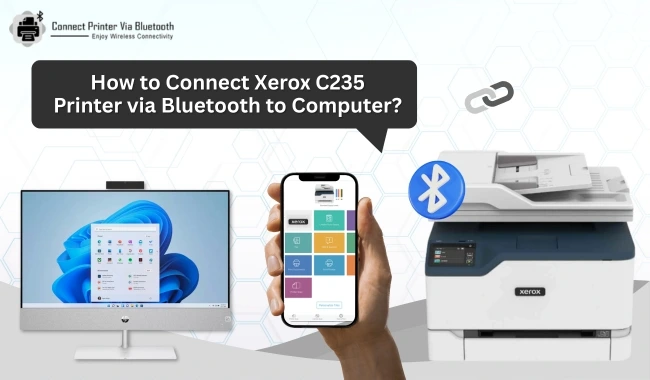
How to Connect Xerox C235 Printer via Bluetooth to Computer? (Easy Guide)
By Robert Baker
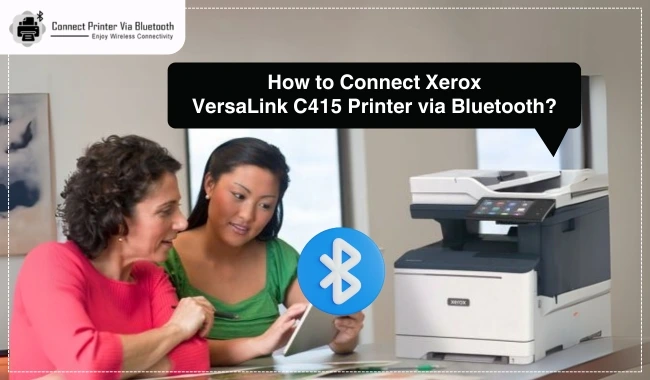
How to Connect Xerox VersaLink C415 Printer via Bluetooth?
By Robert Baker
Connect Xerox Wireless Printer via Bluetooth to PC
Welcome to the guide on how to connect Xerox wireless printer to a PC via Bluetooth. Here you will learn the complete procedure and step-by-step guide to connect both devices. In order to connect a new printer, it is vital to get the compatible driver and then set up the printer to PC. However, this process can be challenging for you if you are just a novice and doing this for the first time. Also, there are huge chances of making a mistake that can lead to incomplete connections. As a result, this piece of writing is going to share everything you need to know about connecting printers. So, get through the whole content!
Step 1: Get the Compatible Driver for Your Xerox Wireless Printer
If you are trying to connect a new Xerox wireless printer to a PC, then you need to download the compatible driver first from the official website. Follow the below-mentioned to learn the right method to install the driver.
- For the first step, you need to open a web browser on your PC.
- And then browse the Official Xerox website.
- When you are on the homepage of the website, then hover on the Customer Support tab.
- After that, a new box will open with some options; select the option of All Supports and Drivers.
- On the next page, under the 'Search All Support — From Devices to Drivers,' enter the Xerox model number in the search box.
- After entering the product name in the field, select its option from the open list or click on the Search icon.
- Moreover, from the open results, select the option with Driver & Downloads.
- On the next page, you have to choose the operating system you are using.
- Also, select the driver option from the Category drop-down menu.
- Once you see the suitable driver from the available driver option, then click on the Download option.
- After that, the driver download will be complete on your device.
Step 2: Install the Printer Driver on Your Computer
Once the driver is installed on your device, then you need to install it on your computer system. With the help of the following process, install the driver.
- On the browser open the file in the browser by clicking on it.
- When the setup wizard opens on the screen, click on the Run option.
- After that, you have to select the Install option.
- Now, the Xerox driver will be installed on your device.
- When the installation is complete, it will ask if you want to let the product make changes to your device.
You must look for professional help if you are having any issues establishing the connection between the Xerox printer and PC. Connectprinterviabluetooth.com/support offers a complete guide and assistance in helping people connect their printer to a PC.
Step 3: Connect Xerox Wireless Printer to Your PC via Bluetooth
Now, follow the steps below to connect Xerox printer to PC via wireless Bluetooth:
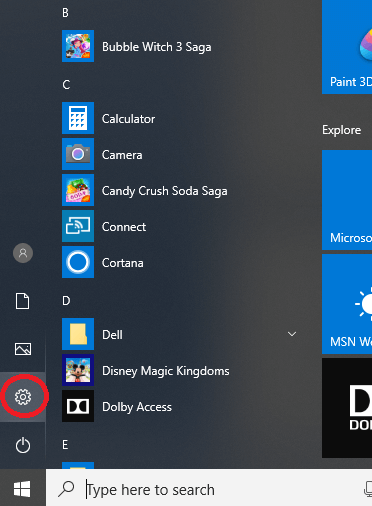
- Firstly, go to the taskbar of your PC and then click on the Start menu.
- After that, choose the Settings (Gear) icon from the list of options.
- When the Settings window shows up on the screen, then go to the Devices option and click on it.
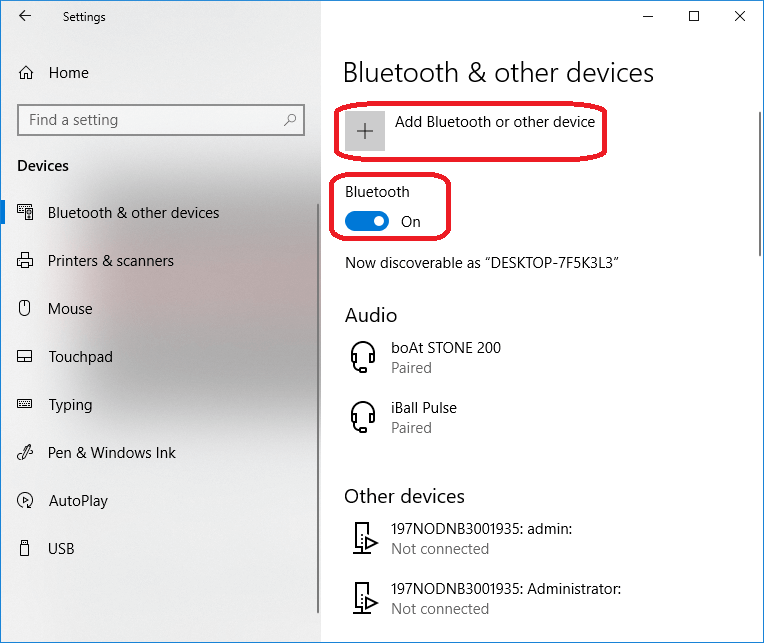
- Now, select the Bluetooth and other devices option on the next page. The option will be available on the left pane of an open window.
- Afterward, move to the right pane of the window and enable the Bluetooth option and leave if it is already enabled.
- Next, in the same window, you have to choose the Add Bluetooth or other device option.
- When a new prompt opens on the screen, then click on the first option Bluetooth.
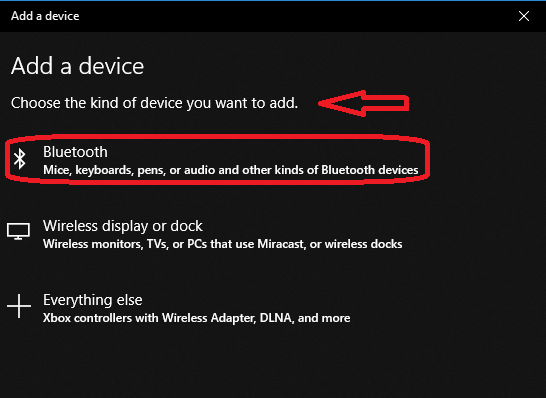
- Then, the Xerox printer will take a few minutes to connect to your PC.
Apart from that, if you are a Mac device user to connect your Xerox printer, then watch this https://www.youtube.com/watch?v=VTQQKI4kFoE&t=65s video tutorial to learn about the process. For any query and help, you can get in touch with the experts of connectprinterviabluetooth.com anytime, as they are available around the clock.
Frequently Asked Questions
Question
How Do I Connect Xerox Wireless Printer to a PC via Bluetooth?
The follow-up process will help you connect your Xerox machine to a PC. But, before moving with the below steps, make sure to download and install the compatible drivers.
- Access the Devices window on your desktop.
- Next, click on the Bluetooth and other devices option.
- Make sure the Bluetooth toggle is set to on, and then choose the Add Device option.
- Now, the device will start to search for the available device option.
- Once the name of the Xerox printer you are using appears on the result, click on it.
- After that, in a few seconds, the printer will be connected to your PC.
- Lastly, print a test copy to check if the connection procedure is done properly.
Question
What are the Steps to Connect a Xerox Printer to a Mac Device?
Here is the stepwise method you should follow to connect a Xerox printer and a Mac device.
- On the desktop on your Mac OS device, click on the Apple menu option.
- After that, select the System Preferences option.
- And then, go to the Devices and Printers option and click on it.
- To open the printer's list, choose the plus (+) icon.
- Now, move to the top of the window and select the Default option.
- Furthermore, the Mac device will show the Xerox printer option if it is within the range.
- Select the option of the printer in order to establish the connection.
Question
What is the Main Reason My Printer is Not Connecting to a PC?
While you connect Xerox wireless printers to a PC, you can face some issues that are very common.
- The printer and computer device are not compatible with each other.
- The driver of the printer is not available or has some fault.
- Getting the technical issue in the printer or computer device you are using.
- The printer is out of the range of your PC.
- Your printer is not plugged properly into a power source and several others.